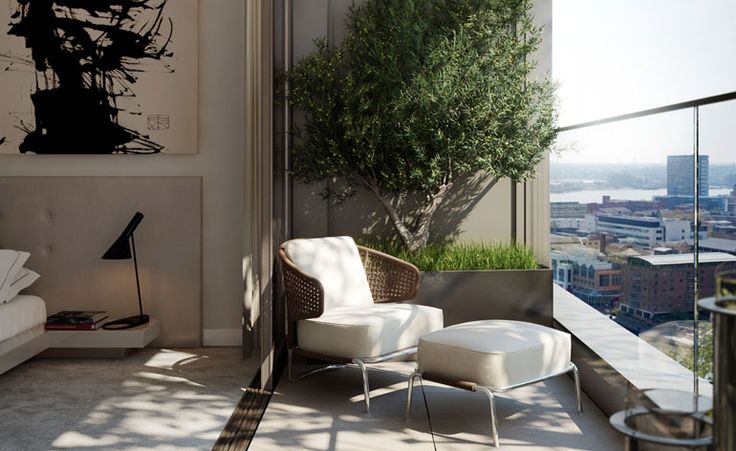
Balconies are a charming addition to our homes, but the challenge often lies in their size. Whether your balcony measures 10 feet, 15 feet, or even 20 feet in length, the width is typically around 3 to 5 feet in many Indian homes. This limited space can leave you wondering how to decorate it effectively. Don’t worry! In this blog, we’ll guide you through six simple steps to transform your small balcony into a beautiful and functional space without needing a designer.
Step 1: Choose the Right Flooring
The first step in your balcony makeover is to decide on the flooring. If your balcony is still under construction, consider using anti-skid tiles to prevent any slipping hazards. For those with a completed balcony, think about dividing the space into two sections—say, a 60/40 or 70/30 ratio.
Start with the area near the entrance; use durable deck tiles that can be easily installed without any adhesive. These tiles allow for proper water drainage, ensuring that rainwater or spills won’t accumulate on the floor. You can find affordable deck tiles online or at your local market.
For the remaining space, opt for a green grass mat. Ensure that the grass is at least 40mm in height for durability. This will not only enhance the aesthetic but also provide a soft, inviting feel underfoot. Just remember to install drainage cells underneath the mat to manage water flow effectively.
Step 2: Create a Master Wall
Your balcony doesn’t just need good flooring; it also requires a focal point. Identify one wall (left or right) as the “master wall.” This wall can be adorned with wooden cladding or stone panels to give it a distinctive look.
For a wooden appearance, consider using high-quality HDF sheets, which mimic real wood without the maintenance issues. If you prefer a stone look, choose smoother stones to avoid scratches and irritation, especially for families with children. Don’t forget to apply a varnish for a shiny, polished finish!
Step 3: Focus on Lighting
Good lighting can dramatically enhance your balcony’s appeal. The key is to use warm white lights, which create a cozy and inviting atmosphere. Avoid cool or natural white lights, as they can wash out the warmth of your space.
Consider installing stylish pendant lights or wall-mounted fixtures that highlight your master wall. You can also use adjustable lights to focus on specific areas, making your balcony look even more enchanting.
Step 4: Ceiling Design
When it comes to your ceiling, avoid using POP or gypsum boards, as these can be damaged by rain and moisture. Instead, consider using waterproof materials or simply paint the ceiling in a light color to give it an airy feel. Adding some ambient lighting in the ceiling can also enhance the overall atmosphere of your balcony.
Step 5: Add Greenery
Incorporating plants is essential for a lively balcony. If space is tight, consider vertical gardens or wall planters that maximise your area while adding a touch of nature. Choose hardy plants that require minimal maintenance and can thrive in your climate.
Vertical gardening not only saves space but also adds a beautiful green backdrop to your balcony. Just ensure that any water runoff from the plants is directed to the drainage system you installed earlier.
Step 6: Personal Touches and Accessories
Lastly, infuse your personality into the space with decorative accessories. This could include cushions, a small table, or decorative lanterns. Choose weather-resistant materials to ensure durability.
Incorporating elements that reflect your style will make the balcony feel like an extension of your home. Whether you prefer a minimalist look or a more vibrant, eclectic style, the key is to create a space where you can relax and enjoy the outdoors.
Conclusion
With these six simple steps, you can transform your small balcony into a stunning and functional outdoor space. From choosing the right flooring to adding personal touches, each element contributes to creating a beautiful oasis.

