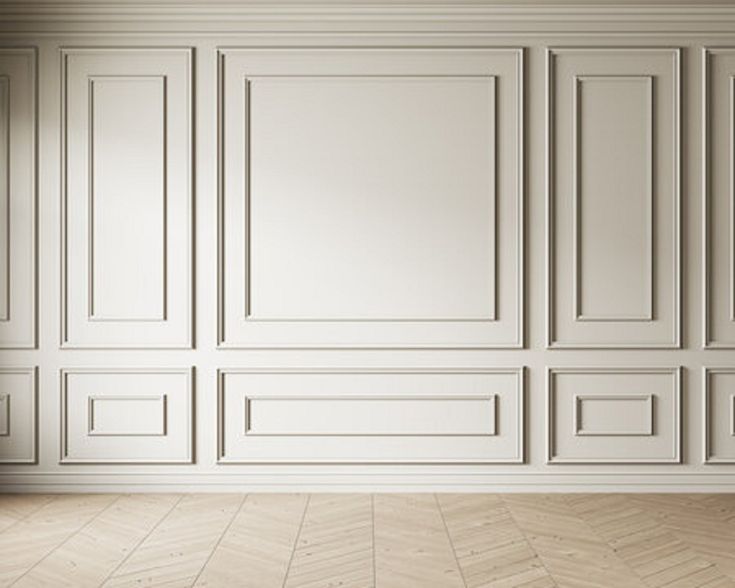
I’m going to walk you through the process of designing a unique wall paneling that blends wood and light in a seamless, elegant way. This tutorial isn’t just about replicating the exact design; it’s about learning the techniques to create any wall design with confidence.
Step 1: Decide on the Design
The first step is to decide on your design. You can either follow the design shown in this video, ask an interior designer for ideas, or create your own. If you’re looking for inspiration, feel free to copy the design I’ve shown or contact us for a personalised design. It’s essential to get your design right before proceeding.
Step 2: Measure Your Wall
Once your design is ready, start by measuring your wall. For example, let’s say your wall is 12 feet long and 9 feet high. Transfer these dimensions to a piece of paper and draw the wall to scale. This gives you a clear idea of how the design will fit and where to place various elements. Use a scale to ensure accuracy.
Step 3: Planning the Layout
On your drawing, mark where the panels will go. For our example, we left two feet on either side for louver panels and a plain MDF panel in the middle. The design features square boxes measuring 16 inches by 16 inches. This size works well as it isn’t too small, which can make a space feel cramped. Be mindful of the material dimensions to minimize waste.
Step 4: Gather Your Materials
Next, head to your local electrical store and purchase the following:
- Wires (around 1 meter per connection)
- Cabinet lights (amount depends on your design)
- Wood or MDF boards (you can choose between MDF or plywood depending on the climate in your area; I recommend MDF for dry areas)
For the paneling, you will need DPCC louvres (at least 25mm thick), and you should make sure the panels are 6 inches wide and 8 feet long. This size will give your design a balanced and elegant look.
Step 5: Cut and Fix the Panels
Once you have the materials, it’s time to cut the MDF boards into the square panels you’ve designed. The next step is to fix them on the wall. Use a carpenter to install these panels on the wall, ensuring they are securely attached and aligned with the design.
Step 6: Electrical Work
While the panels are being fixed, you’ll need to ensure the wiring is set up for the lights. Mark where the power sources will come from (usually from a switchboard or electric box), and make sure the wires are connected to each panel for the lights to be installed later.
Step 7: Adding the Louvers
Now, focus on the louvers. You’ll need to place them in the areas you’ve marked earlier. Fix them securely to the wall using adhesive or screws, ensuring they are flush against the wall.
Step 8: Finishing Touches
Once the panels and lights are installed, the next step is painting and finishing. Choose a color that complements the rest of your room. For the MDF, you can apply a coat of paint or use wallpaper for a luxurious touch. If you choose wallpaper, ensure it is high-quality and doesn’t overpower the design.
Step 9: Final Installation of Lights
For the lights, you’ll need to install them inside the cut boxes where the lights will go. Ensure each light is securely placed and connected to the power source. After everything is set up, you can finally power on the lights and admire your work!
Cost Breakdown
Here’s a quick overview of the potential costs involved:
- Wood/MDF boards: Varies depending on size and thickness.
- Electrical components (wires, lights): Affordable, depending on the number of lights and wiring required.
- Labor (carpenter and electrician): Rates may vary based on location and skill.
- Finishing (paint, wallpaper, etc.): Budget for quality finishes to make your design stand out.
In conclusion, this wall paneling design is an affordable yet stylish way to elevate any room in your home. The key is in the details—getting the measurements right, choosing the best materials, and finishing with care. If you follow these steps, you’ll be able to create a beautiful, functional wall design that adds character and elegance to your space.

